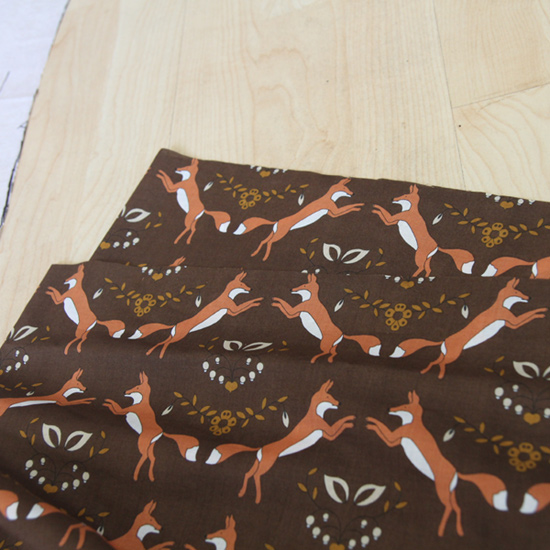
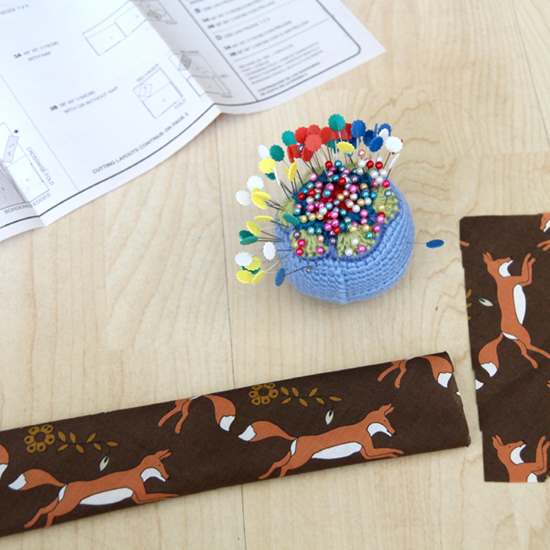
After writing my holiday-time sewing catch-up, I was inspired to give the Newlook 6872 skirt pattern another try, this time in a fox-patterned Japanese Lawn that I had also bought from Spotlight. When I began the project I realised I was working with a large pattern that would need some planning so I wanted to share a few things I learned along the way.
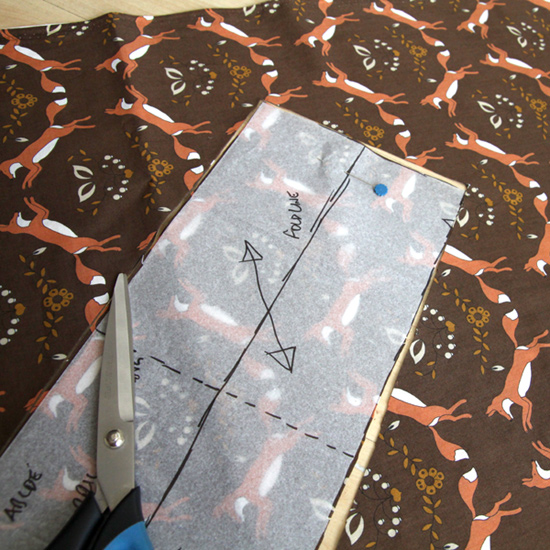
1. Use a visual cue from the pattern to ensure a straight cut.
I used the tops of the foxes ears at the top of my skirt piece to make sure my fabric and pattern were straight. If you’re cutting pieces on a fold, make sure that you’ve aligned the back and front of the fabric and pinned it before you lay down your pattern to avoid any slips on the back.
Make sure the visual cue you use has enough room for the seam allowance. You’ll see at the end of this post that when I’ve attached the waistband I’ve chopped off the heads from this top row of foxes (oops!). It doesn’t look too obvious due to the gathering in the waist but ideally I should have cut the fabric a little higher.
2. Cut each piece using the same visual cue from step 1.
My skirt had just a front and a back piece, but I made sure that the top of both pieces skimmed across the tops of the foxes ears. You might waste some fabric when you do this but it will help your skirt to have a continuous horizontal pattern line around your skirt.
3. Plan which pattern you want on your waistband or other detail.
I laid my waistband pattern on the fabric in the place suggested by the instructions but I noticed that my foxes would end up feet skyward on my waist – they’d look dead! I realised that I could cut the pieces at the opposite angle and I’d have happily jumping foxes.
Thinking about how the pattern will look in the final piece also applies to any other details such as pockets or belts.
4. Check as you go.
Step 3 had me a little worried so after cutting I folded the fabric to check that it was looking how I imagined it. Sometimes cut pieces of fabric can feel like optical illusions so take your time, check and re-do something if it’s not going to plan.
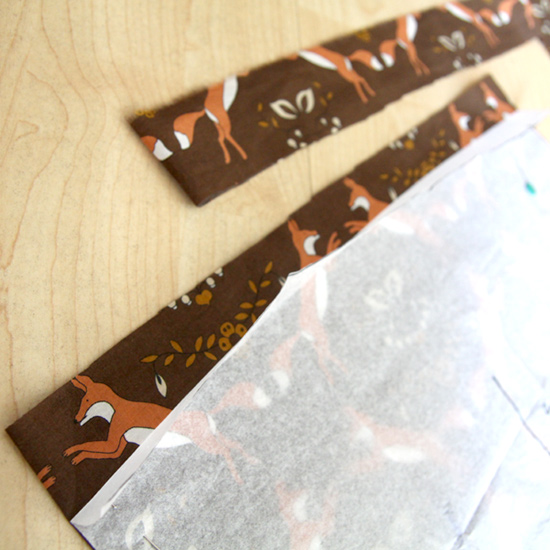
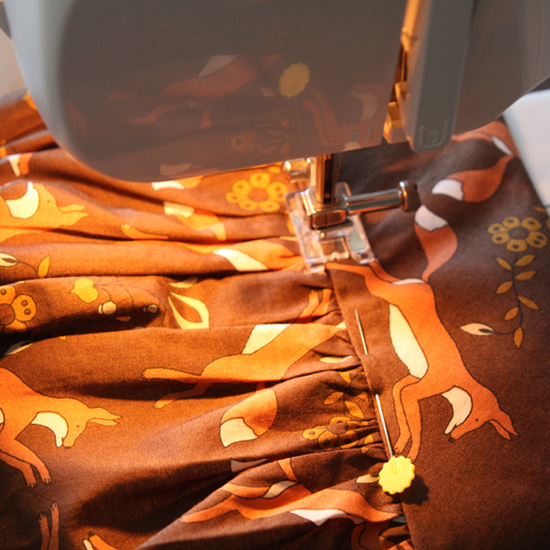
This is a close-up as I attached the waistband and happily saw that my foxes would definitely be the right way up. In hindsight I could have cut the piece with a little space below the fox paws but I’m still happy with it:
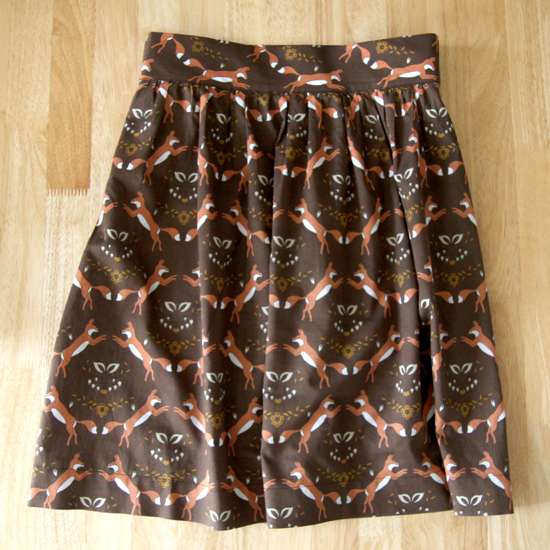
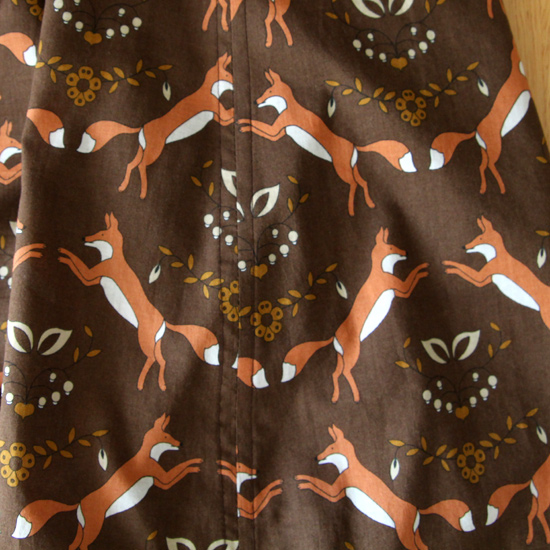
This shows the skirt’s sideseam with the closely aligned horizontal rows. It could have been a little more accurate but it’s close enough that when the skirt is worn then the pattern looks continuous. The sliced foxes on the seam look a little awkward but on this type of skirt it’s unavoidable and the skirt folds hide the oddness when it’s worn.
This time I re-measured my waist and reduced the length of the waistband so it’s a more comfortable fit however I’ve come to the conclusion that a tall waistband just doesn’t work with my waist – if I fold it over itself then it sits nicely so next time I’m going to try this with a narrower band.
The zipper was still tricky. I managed a little better than last time but still not well enough though to share close-ups :)
Ta-da! Foxy skirt :)