The placement of eyes and other facial features on an amigurumi animal or person can define the mood of the character. There are tutorials around about placement and styles so I wanted to show how I test the placement of eyes on my amigurumi before I sew them.
Sewing pins!
For small eyes I poke sewing pins (the type with the bead on top) in various parts of the head (usually halfway down the head and near a nose feature). I hold the amigurumi away from me which helps to show the impact those eyes will have based on the size and shape of the head. I try a few different positions until I’m happy with it.
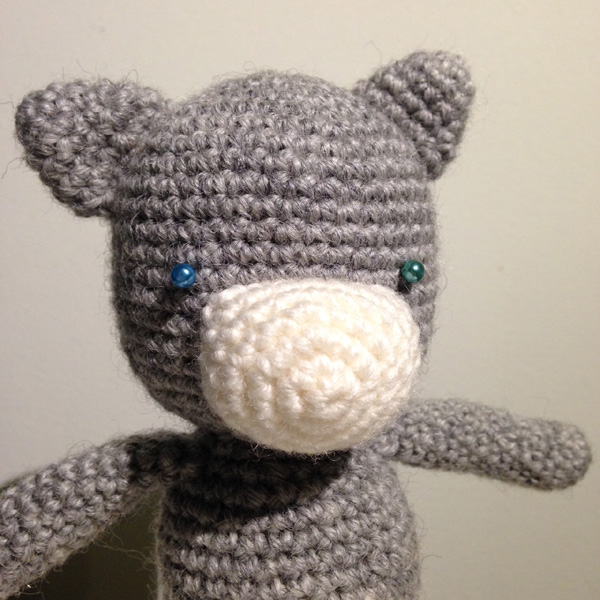
If the character needs large eyes, I place the pin through a piece of felt or fabric that’s approximately the size of the eye and then I move them around the head – this gives a sense of whether the facial features are balanced or accurately showing the emotion you want from the character.
When it’s time to sew, I keep the pins in place so that I can get my sewing needle to the right spot before I remove it so I don’t accidentally sew the eye in to the wrong stitch.


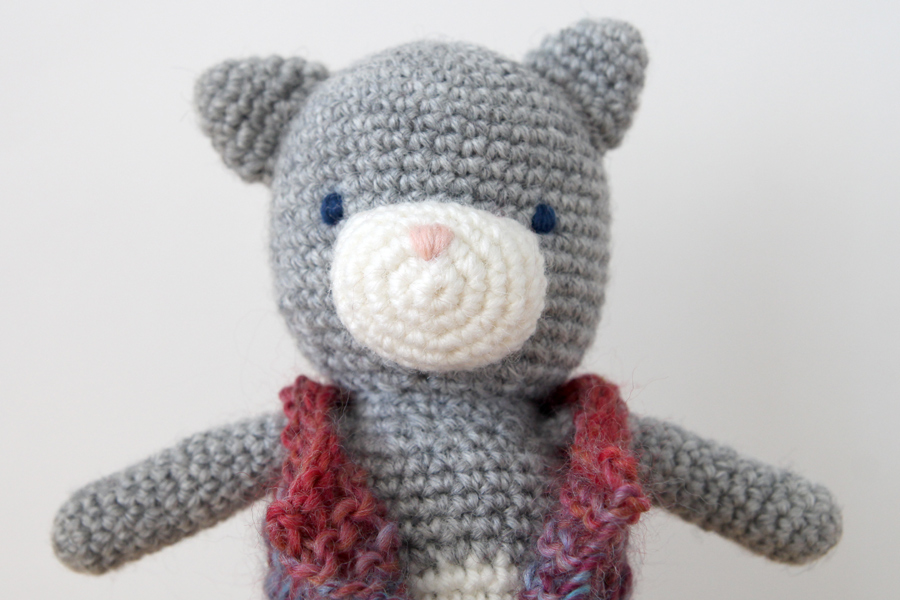
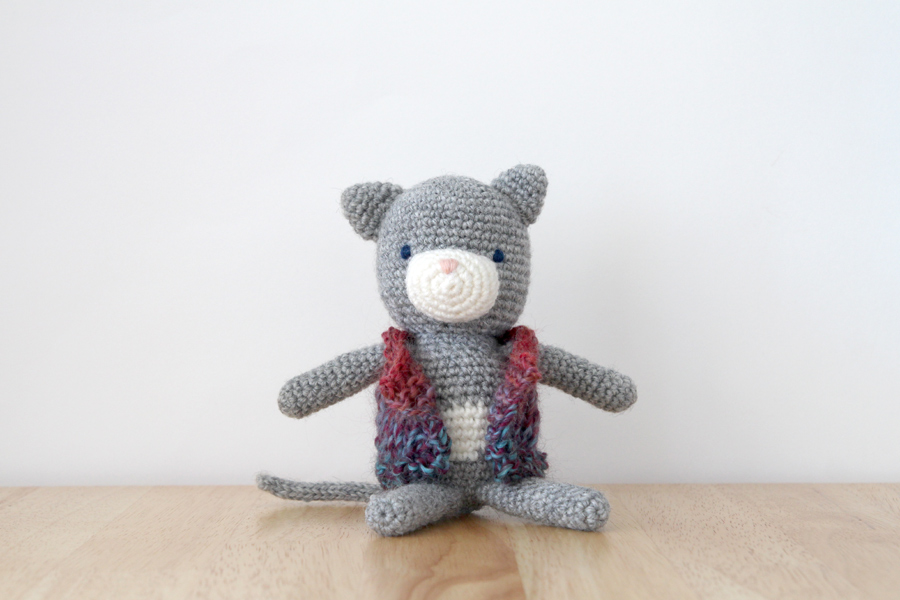
For anyone who’s curious, this little amigurumi cat is my own make-it-up-as-you-go-along design crocheted with Moda Vera and 4 Seasons wool. The cardigan is detachable and I knit it with Lincraft’s Splendour yarn (leftover from my sock making).