 Drawing inspiration from last week’s flower pincushion, I wanted to make a gift for someone so I decided to try and make a flowery pouch.
Making flowers
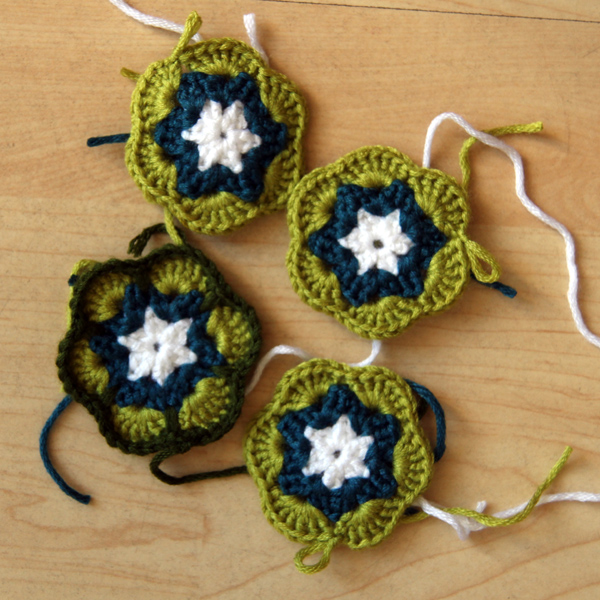
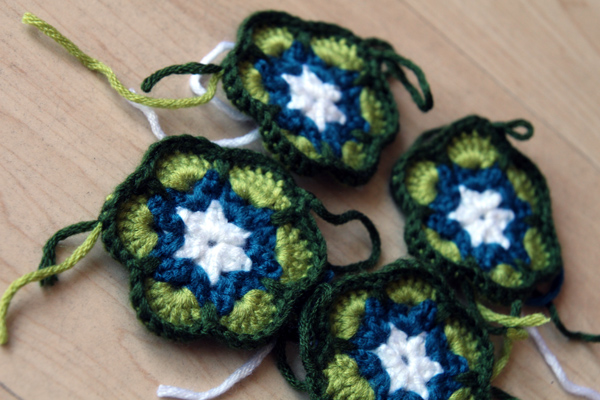
I started by picking some colours for the flower from Lincraft Supersoft 8ply yarn (50% micro acrylic, 50% micro nylon, 50g/100m). I made up a test flower to decide the order of the colours, and then I made three more flowers. I found that doing the same step for each flower before moving on to the next step seemed to bring them to life quicker rather than completing one whole flower before starting again for the next.
I hadn’t considered how the flowers might join together! I had a vague idea of being able to crochet joins but as I laid the flowers out I found that 6-sided hexagon shapes don’t fit together very well in small numbers. I googled around for a while but decided that I had to change my idea.
Knitted pouch fabric
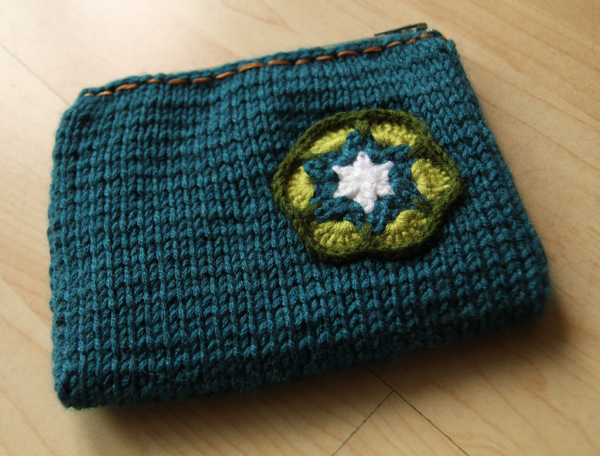
I decided to knit a fabric for the pouch so that I could then place two flowers on the back, and two flowers on the front, to create a cute bag. Once the knitting was underway, as I laid the flowers on the fabric I realised that it wasn’t going to look as cute as I wanted, and the flowers might weigh the pouch down too much. So I changed my idea again and decided one flower would be enough. When the knitting was done I sewed it on.
Pouch sideseams
I’d planned to crochet the seams of the pouch in a different colour but all attempts failed to give me a neat finish so I caved in and found some seaming instructions and created a vertical seam on stockinette stitch to make some fairly tidy (if boring) sides.
Zipper and lining
I then roughly followed Carrie Wolf’s zipper and lining tutorial to attach a zipper. I used my sewing machine to make a lining bag and then hand-sewed it in to the pouch.
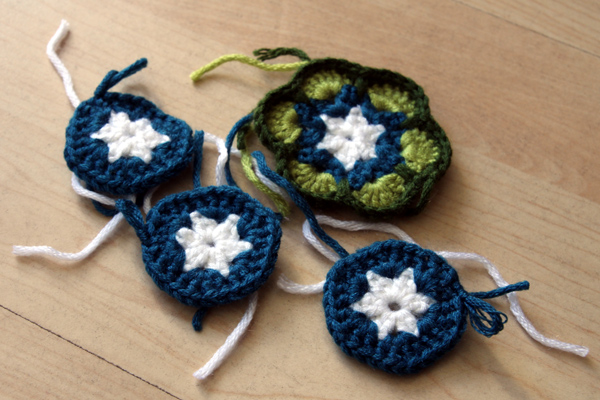
than completing one flower before starting on the next.

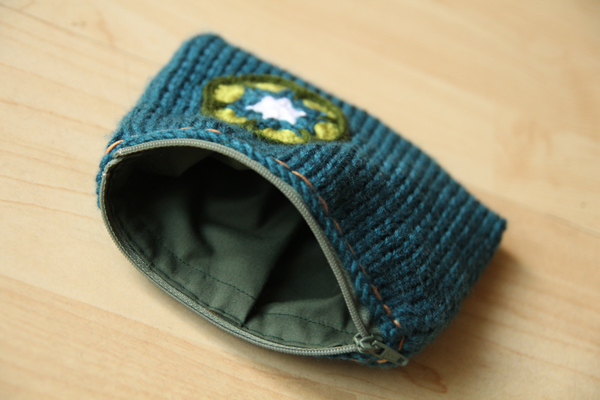
pleat on both sides because the knitting has stretch and I
wanted the inside to stretch a little too.