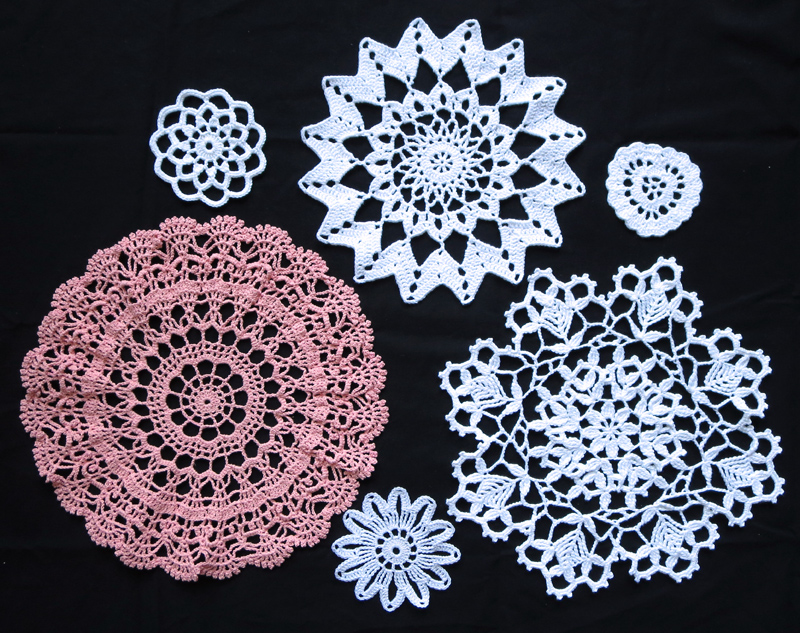
It has been a while between posts because I’ve been busy making the first items for my brand new Etsy shop, give me a crown. To create my items I’ve been experimenting with a variety of techniques and materials including making my first proper doilies. I’ve attempted and made a few simple doilies before but these latest ones have been specifically to test my skill and learn about different combinations of crochet stitches.
A few things I learned on the way:
- Reading charts saves time – having used written and photographed tutorials for amigurumi and potholders, for doilies I decided that I had to learn how to read charts. When I started out it took some time switching between the chart and the descriptions of the symbols to learn this new language but it’s been worth it! I find looking at the charts much quicker now as a reference than continually going back to written descriptions and having to visualise where the stitches are going. One useful note I read was that the crochet symbols were made to symbolise how the stitches look on the crochet piece. A useful reference chart for crochet symbols (with US terms) can be found at actors, dancers and yarn – oh my!.
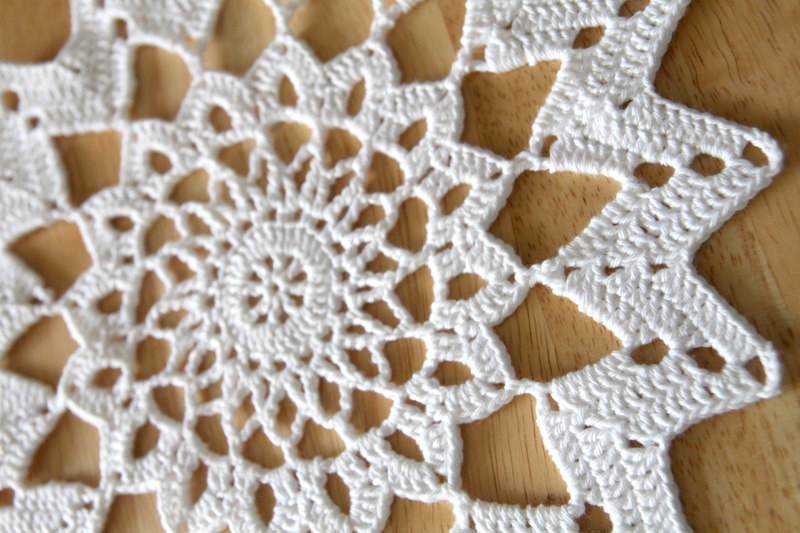
- Start small – I began making small doilies that had very few symbols to decipher. There was less stress that I was going to waste yarn and I got that “Yay done!” feeling quite quickly. Once I’d tried a few small doilies I progressed to slightly larger and more complex charts.
- Charts can be incorrect – I’ve followed charts from old crochet magazines and have found that sometimes the charts can be wrong. A little way through a round I’ve realised that a symbol has been missing or added in the part of the chart that I’d counted. This has only happened on a couple of complex rounds so I’ve learned to keep a bit of an eye on this – if I can’t automatically see how many symbols there are, I count the number of symbols on two different sections of the chart to double-check there are no differences.
- A mentor is a big help – when I get stuck or a section doesn’t look like I would expect it to look I jump online to try and search for tutorials and photographs. Persist persist persist. Most valuable however has been when I went to visit my super-clever-and-crafty mum who looked over a chart with me and showed me some maneuvers – she showed me the method and spoke through what she was doing, then I tried the same and talked it back to her to make sure I understood.
- Some hooks are better than other hooks – as my mum helped me with a chart, she told me my 2mm hook was funny. She pulled out her stash of crochet hooks and showed me her 2mm hook – mine had a sharper point which was sometimes causing the cotton yarn to split, and mine also had a thinner “neck”. I stuck with my funny hook to complete my doily but I’ve since tried out the 2mm hook she gave me and I find it easier to use for cotton. If your hook is misbehaving, it’s not necessarily you that needs more practice, it could just be that the hook is not suited to the material!
- No chart is set in stone – after a few doilies, I’ve found that I can make small adjustments if I don’t like how the doily is turning out. Crochet varies from person to person so if I find my chains looking too floppy then I can reduce their length. Just make sure to make the adjustment and stick to it all the way around for consistency.
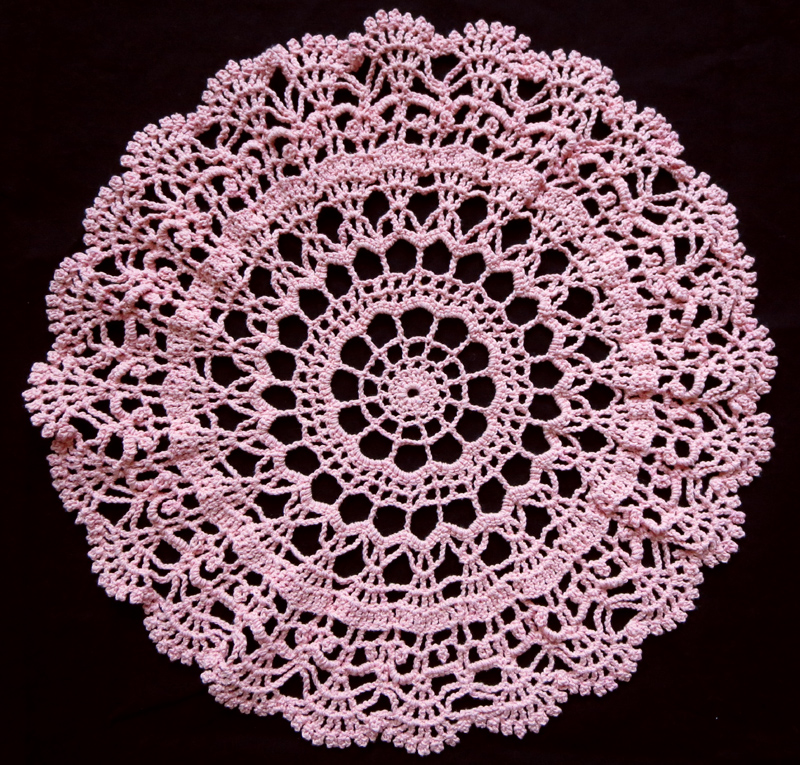
- Wobbles can be ironed out – when I completed my first larger doily it was a little wobbly around the edges but because I was staying with my mum I got the chance for her to show me how to be patient and press out the doily with an iron. A few minutes later I had a beautifully flat doily. Another doily I made (the peachy coloured one) when I was at home was much more wobbly but even that has flattened out well enough and will become flatter with some more ironing. I will need to pay more attention to what is causing the wobbles (I think I start crocheting doilies quite tight and then ease out as I get comfortable with the pattern and progress) but for now the iron is my friend.
- No one will know if you did something “wrong” – when people see your finished doily they won’t be comparing it to a chart, they won’t know if you’ve made any oddities or adjustments. Whatever you’ve created is exactly as it should be!
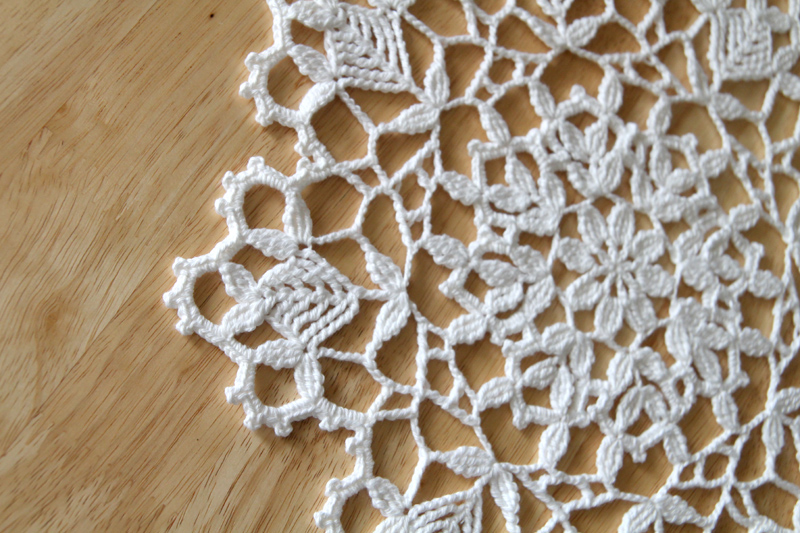
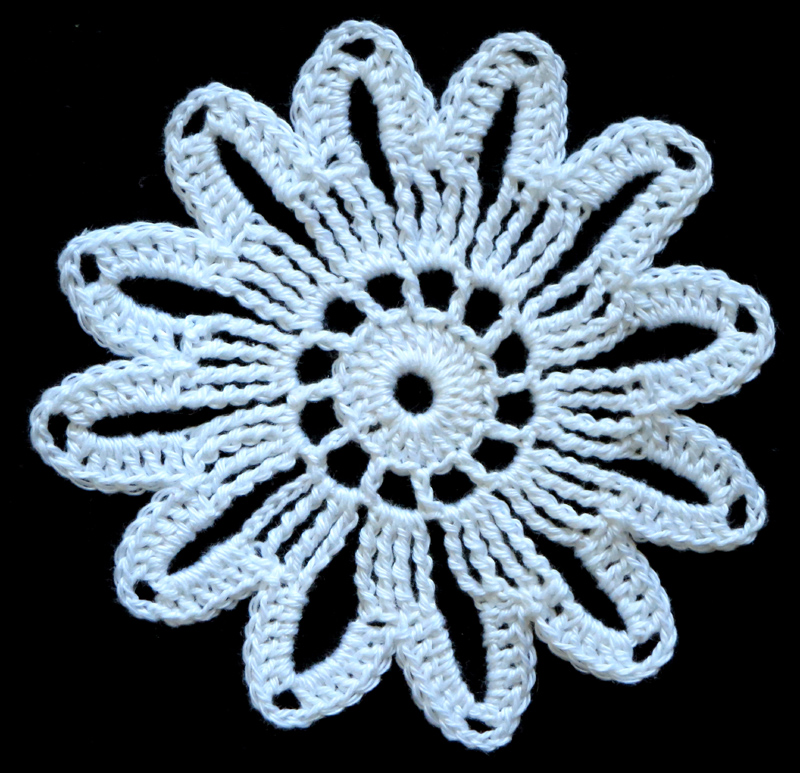
The white doily with the flowers in the center is so pretty! Is there a pattern for that one?
Hi Catherine,
That one came from an old UK magazine called “Crochet Monthly” (issue number 251) published in the year 2000. The pattern’s name is “Corn Dolly” designed by Shie Kose. The doily itself is on the front cover of the magazine.
You might be able to find a second hand copy of the magazine online.