While I was visiting my mum for the Christmas break I dropped in to her local craft shop to say thank you to the owner for the free alpaca fleece she gave me the previous Christmas when I was learning to spin yarn on my DIY drop spindle. I told her how much fun I had been having with my drop spindle and that I was hoping to get a spinning wheel at some point when a lady in the shop piped up to say that she knew where I could get a spinning wheel. It turned out that she had a spare wheel that she was looking to sell!
My first spinning wheel
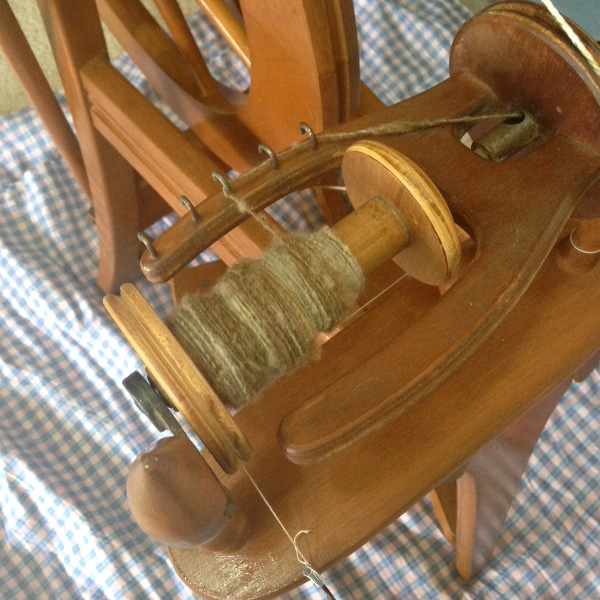
We went to visit her that afternoon and she showed me the wheel – a well loved wheel that she had been given by another spinner but she hadn’t used much because she had two other wheels. It was a little dusty and needed a spring but she showed off her other wheel to explain how to fix it up, and then my mum bought me my first spinning wheel as a Christmas present!
The only spring we could find was stolen from the inside of a ballpoint pen but we hooked it up and then I googled for videos to learn the basics of spinning. To my surprise I began to pick it up and, with a pillowcase full of fleece that the lady had gifted me, I began to spin yarn. My attempts were lumpy but I was on my way!
After a few sweet days my spinning wheel and I parted ways as I flew back to Sydney and I had to wait until my mum visited by car to reunite me with my wheel.
Setting up my spinning wheel
I’ve been on a steep learning curve with my wheel to get it working. The bobbin wouldn’t spin, the flyer wouldn’t spin, the bobbin kept popping off, there were squeaks, the fibre would pick up too quickly or not at all, and my yarn was very inconsistent (art yarn you could say). Determined to make it work, I’ve studied my way through tutorials to clean the spinning wheel and replace the drive band, and I got a better spring.
Craftsy to the rescue
I then bought myself a Craftsy class, Drafting from Worsted to Woolen with Jacey Boggs Faulkner, after hearing good things about it on a few knitting podcasts (when you sign up to Craftsy they will email you offers such as 50% off so it’s worthwhile waiting for one of those before buying a class). The tutorials have been amazing! I’ve watched them through once, pausing and trying things out on my wheel as I go, and I plan to watch them through again in the near future because I’m certain that I’ll pick up even more information now that I have a better sense of the basics.
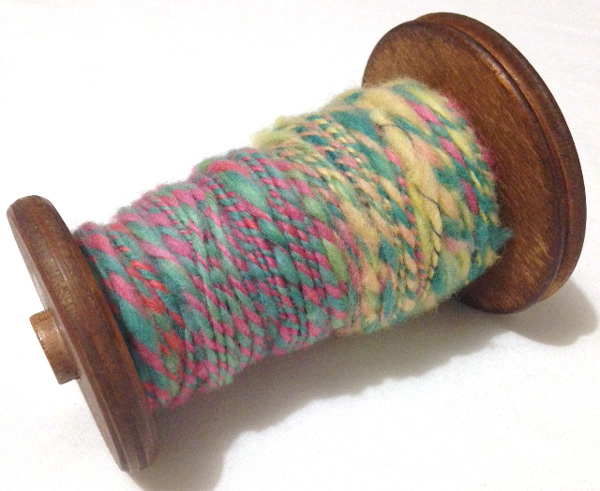
In some ways the class felt like diving in the deep end – there’s an expectation that you know how to set up your wheel – but I like that kind of learning. Along with the spinning, I learned a lot about fibre and the reasons why you would want to spin some types of fibres in different ways. There were plenty of tips to make spinning easier, and approaches to spinning that I hadn’t yet encountered but I feel like they’ve set me up to skip the headaches that might otherwise have occurred.
Fibre matters for beginners
One major problem I realised was that I was trying to learn to spin using very random fibres, from fleece to poorly carded fibre. Why spend energy battling with the fibre when I could get processed fibre such as combed top – where all the fibres neatly go in the same direction – which makes spinning easier? I want to learn to spin all types of fibre preparation but, as a beginner, neater fibre was what I needed.
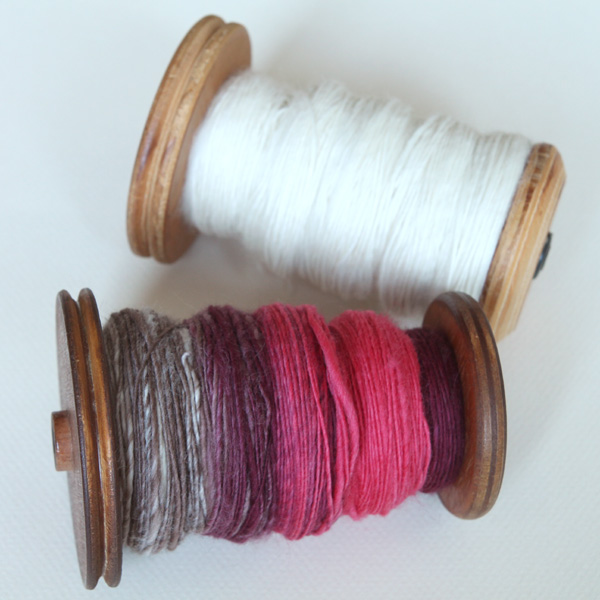
And what do you know? The spinning was easier. I was able to concentrate on my hands and my foot rather than locating lumps and bumps in the fibre. Suddenly I was able to create a more consistent single yarn and then I was able to ply two singles with ease.
My first handspun socks
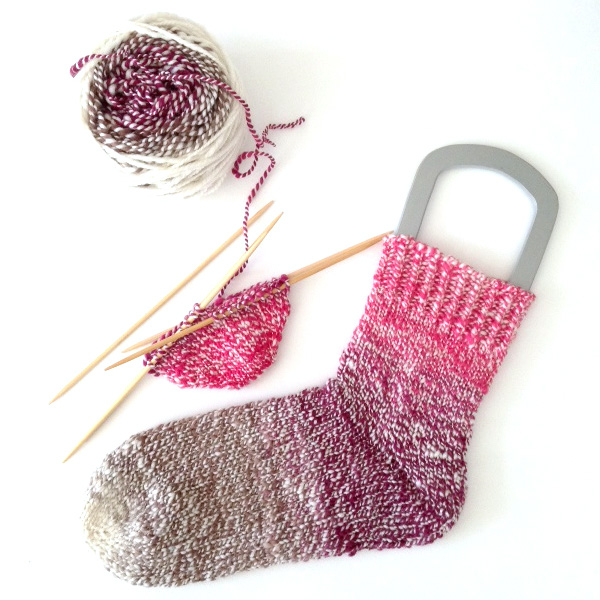
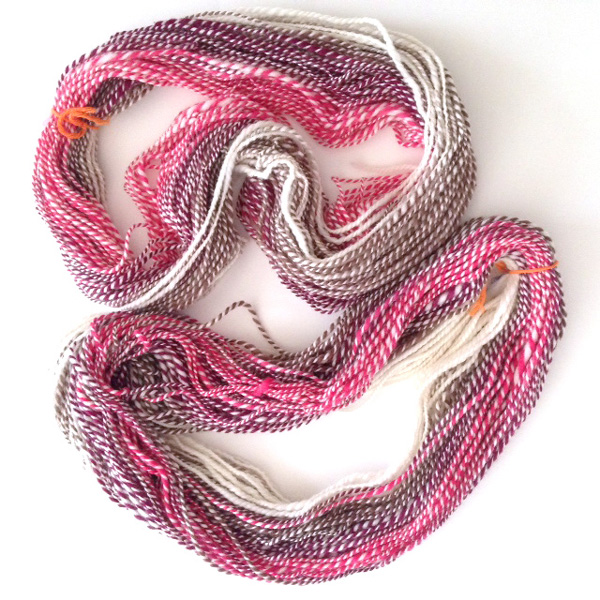
I had managed to spin and ply two balls of yarn, one 43g and the other 45g. I got a ruler and gently wrapped the yarn around a 1 inch section to find that it was 12wpi (wraps per inch) which approximately matched store-bought yarn I’ve knit up with 3.5mm double-pointed needles.
I wanted to use up as much of the yarn as possible but I wanted the socks to match so I started with the lighter weight ball of yarn. I knit toe-up by casting on 16 stitches with Judy’s Magic Cast-on, increasing 4 stitches every second round until I had 40 stitches (which fit my foot well even though I normally knit 48st on the store bought yarn).
I then knit a plain stockinette sock with a fish lips kiss heel followed by more stockinette.
I measured that I had around 10 metres remaining of the yarn and began a 1×1 twisted rib and when I had 1 metre of yarn remaining I did a sewn bind-off.
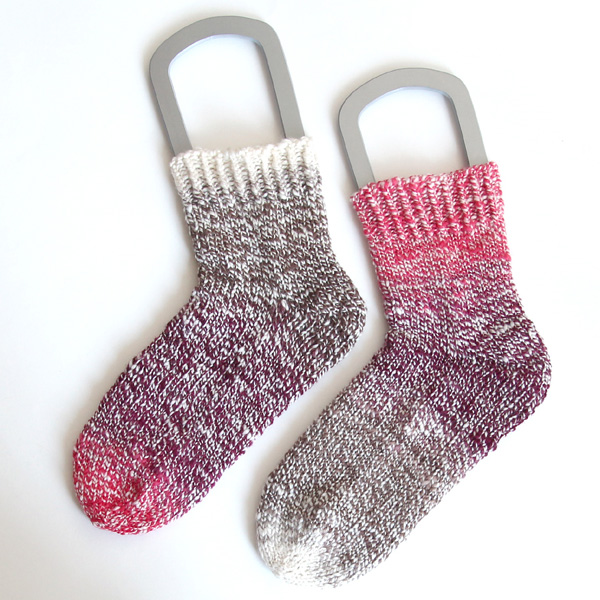
For the second sock I followed the same construction, roughly matching the length of the foot and the ankle sections.
These mottled handspun socks are pure merino so I don’t know how well they’ll last but they were fun to knit, they’re warm and I’m still stunned that I turned fibre in to a finished object!
